this first one is a combination of a couple of things. below is the original picture taken with my d70s (the most awesome camera in the world). this is Porgy. she is not dead.
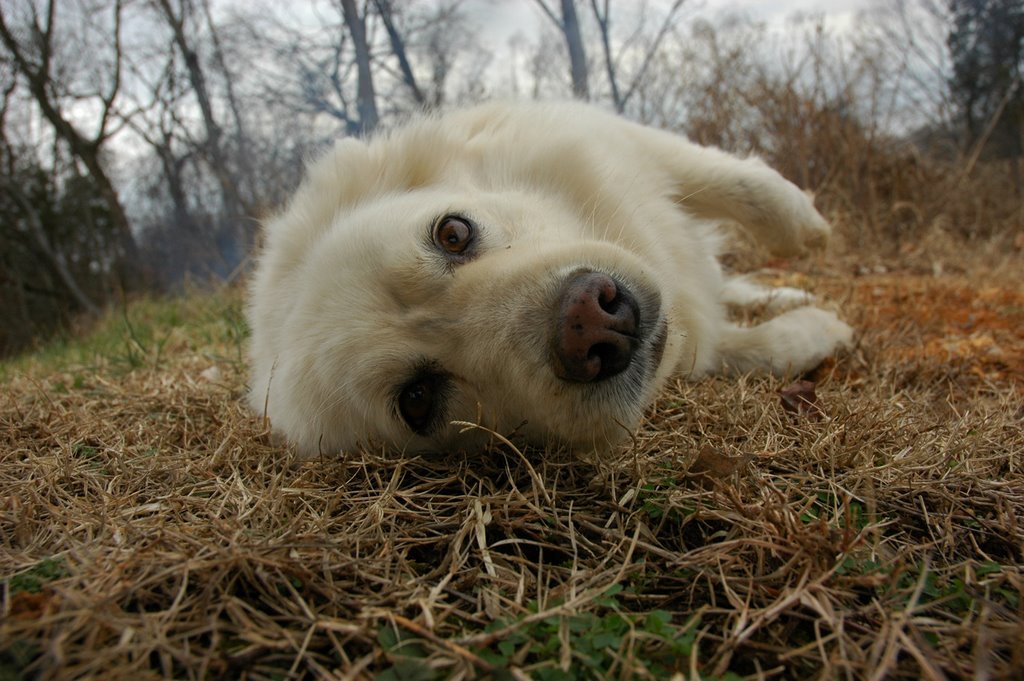 (original photo)
From there, I go to Image > Adjustments > Desaturate. this turns the picture black and white. Immediately following that, I go to Edit > Fade Desaturate. (This "fade" command changes with whatever you do before it (auto levels, auto contrast, equalize, etc.). From here I can scroll through all the optional fades. I think I went with Overlay on this one (I think). Next, I go to Filter > Sharpen > Unsharp Mask. This is totally new to me (and it really improves the contrast). I think i have mine set at the following: Amount: 30%, Radius: 50 px, Threshold: 0. You can bump those up or down to increase/decrease effect (or just repeat the unsharp mask choice). anyway, here is the end result...
 (digitally remastered porgy)
And of course there are a thousand variations on what you can do here. This is just one.
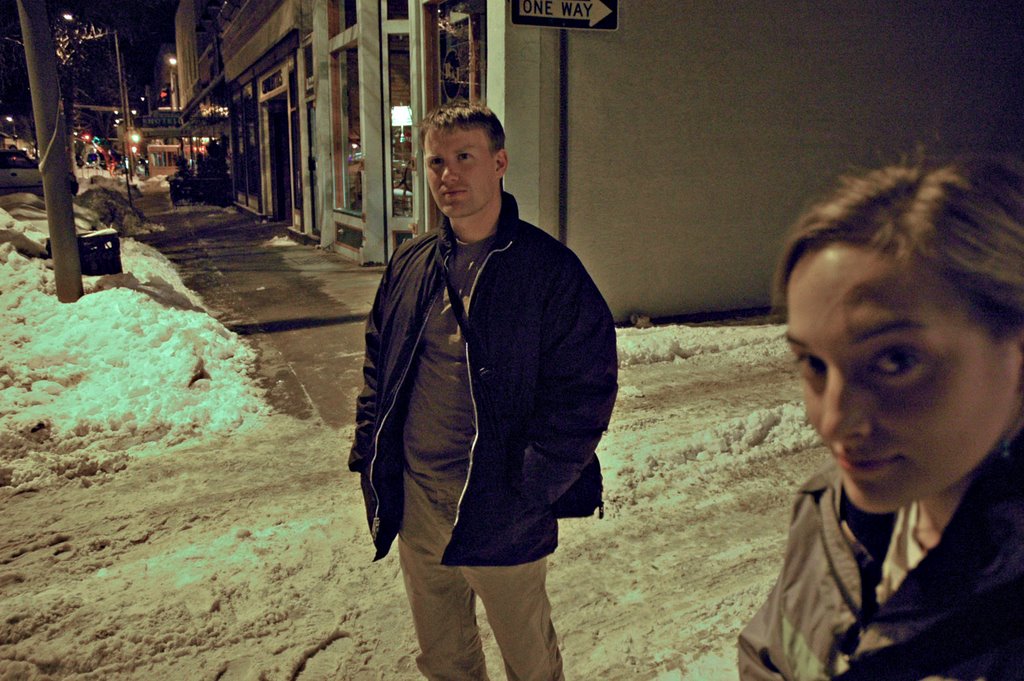
Next up, Neutralizing. This is so simple it's scary. First, the original photo...
 (original photo of john karspeck and jess)
Ever take pictures at night and have them come out with an totally orange tint to them? Ever take pictures on a cloudy day and find that everything seems to have a blue tint? this is white balance and it can totally change a picture's look/realism. Using that photo above, I go to Image > Adjustments > Match Color. Then, I simply click on "Neutralize." Bam. From here you can fade that or increase color intensity or luminance. here's the end result...
 (amazing. one button. ONE.)
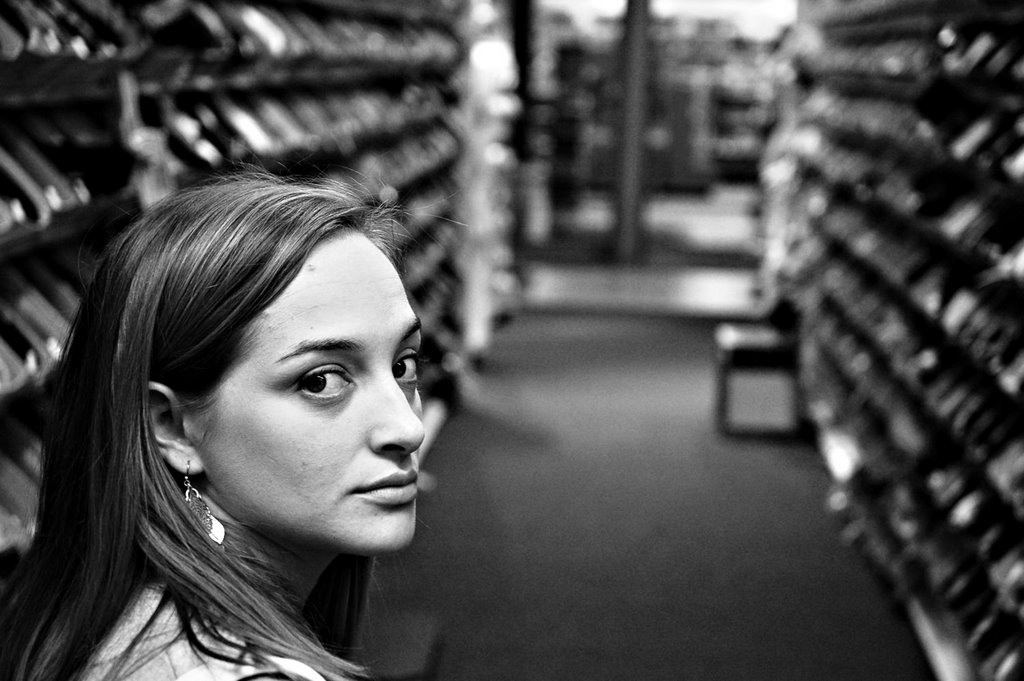
And finally, Desaturating (taking a color photo to black & white). This was one I was unsure about because simply changing a photo to gray scale is hardly flattering for it. So this is one of several ways to do this. Take the original photo below (that's my baby cakes shopping for shoes :* )
 (original photo)
First, I go to Image > Adjustments > Desaturate. Next, I go to Image > Adjustments > Curves. You'll get a box that looks like this (only the diagonal line will be straight)...

As you can see, I've added 2 points to make it a curve. When you first try this, you'll probably just want to put a point in the middle (128, 128) and then one over to the right making it curve. By leaving the line crossing the exact middle, you leave the blacks and whites where they are. The sharper you make the curve, the higher the contrast will go (this is great for color photos or B&W). After adding an Unsharp Mask filter, I get...
What an amazing change. Like a totally different picture. Like I said, this is only one of several ways of doing this. Next time i'll show you how to add Red, Green, or Blue filters to change the contrast in B&W photos in a very different way. (i can't wait :) )
this is just a fun picture of jess's colorado (formally florida) family.

Clap Your Hands Say Yeah came out with their new album today (for download). check it out on their myspace page. i can't decide how i feel about it.
also, i restarted my Flickr page just putting up my favorites. i messed my zimbodeux screen name by canceling my previous account, so, yeah. i was upset about that.
also! DO go see Children of Men. it was fantastic!
No comments:
Post a Comment